
Thank you for coming to my Featherweight Skill Series! There are thousands of us who love our little 221s but need or want a little more "know-how" on using them to their fullest potential. I hope my posts and videos will help you get more know-how and confidence in using your beautiful Featherweight. Enjoy the classes!
Class #9 - The Ruffler - Part 1

Class supply list:
Your fully threaded sewing machine with the Ruffler, several practice pieces of fabric: 4" x WOF (width of fabric) that have been hemmed, if desired. (See classes 5 & 7 for hemming instruction)
Let's get sewing!
One of my Singer sewing books gave this drawing, which names parts on the unit. I'll refer to these names throughout the Ruffler posts.

Installing the Ruffler isn't too difficult. The only thing that needs to be done differently is to place the fork arm around the needle screw so it's movement causes the Ruffler's gears to function.

The adjusting lever has numbers and a star on its plate.

This determines how many pleats are sewn into the fabric. The star setting disengages the unit's function and produces no pleating in the stitches when selected.
Here are samples of some strips after changing the adjusting lever. My stitch length was set at 8.

The middle strip has a pleat sewn in every 6th stitch.
The bottom strip has a pleat sewn in every 12th stitch.
All very nice effects! They can become more pleated with a shorter stitch length setting. A 10 or 12 would give a fuller ruffle than a stitch length of 6 or 8.
The adjusting screw will change the pleat depth by increasing or lessening the push on the adjusting finger, which affects the ruffling blade. That was a mouthful!

The separator guide will help keep your fabric to be sewn in a straight line. As the blade pills the fabric in to pleat it, this gives you more control of the strip.

Here what it looks like from underneath when the strip is installed in the separator guide.

Here's a video showing how to use the Ruffler.
There may be times when you don't want the fabric to pleat in a straight line. Remove the fabric from the guide to allow it to move freely.

As you sew, you can steer the sewing along various areas on the strip.
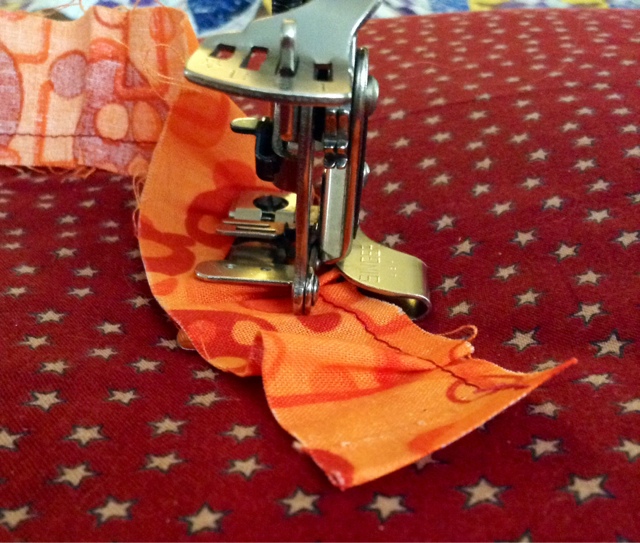
Using this method, here's where I did this and got a shell type effect on my strip.

Homework: Take your fabric and sew ruffles on them! Make a strip of each adjusting lever setting, changing the adjusting screw after a few inches of stitching. Try changing your stitch length on your machine to see what setting you like best. Feed the fabric through the separator guide and then out of the guide to stitch a shell effect.
Write on your samples and save them so you can recreate the settings for future projects.
I hope you have been encouraged to pull out and use your Ruffler. Please share your pics on our Facebook group page, Featherweight Skill Series, so we can see your creations!
If you like the series, share the link with your friends, pin it to Pinterest, join my Facebook group... Most importantly, "Let's get sewing!"
No comments:
Post a Comment