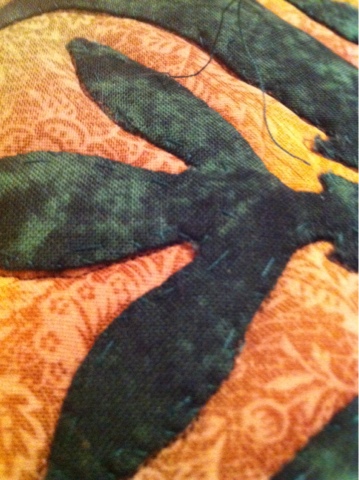
 Remember that part of the old jingle, "...two great tastes in one candy bar..." Well, I was thinking about my Hawaiian quilting side project and thought I'd pair it with some free motion quilting. Two great techniques in one quilting piece!
The beginning of my experiment was something I was generally happy with. It was "put on the back burner" for a while but I had a night to play with it a little!
The edges, for the most part, folded under nicely and the basting stitches needed to be pulled out. Next time, I will choose a thread that doesn't match so closely. Some of those stitches were really hard to see!
Since it was hard to tell where I began removing basting stitches, I used a pin to point at the petal I started on. That was a great reference point while I was going around the motif.
After looking at some trapunto effects on other quilting examples, I thought it might look nice under the green motif. My layers included two pieces of batting to get the effect I wanted.
Next, the FMQ foot was installed on my machine and the green motif was traced closely by the edge around the entire design. That's when things started to look nice and puffy! Can you see it? The trapunto is doing it's job!
Decision time! Leave all the batting for deep ridges with the echo lines or trim and let the motif pop out the most? I decided to go down the true trapunto road and trimmed one layer of the excess high-loft batting away, being extra careful to not clip the backing fabric. (A pair of duckbill scissors would be smart to use for this part.)
Continuing with more FMQ-ing, I added the echo lines around the entire motif. They make a strong visual statement and draw your eyes around the whole piece.
I will take this little side project to the class I am teaching at the April 13th Second Saturday Quilting Club meeting to show as another example of how to use FMQ. This piece is getting more interesting each time I work on it! What do you think?


1 comment:
I loved your FMQ project on Trapunto. It is really pretty.
Post a Comment